
Alright, so I’ve had a lot of you lovely people ask me to blog more about cooking, so let’s get to it and let’s cook some clams at home!
I’m sure you’re wondering why in the world I would choose to cook clams for a blog. This isn’t something I’d normally cook, but we’re trying new things around here and most of us really love seafood, so why not? It also looks pretty when photographed, and that surely helps.
First thing is first, you have to pick up the clams. You can find them at your local fish market (there are several here in Oklahoma City) or if you don’t want to go there, you can try one of the more “specialty” type grocery stores like Sprouts or Uptown Market. I got mine at Sprouts this time around! I would however recommend that wherever you end up getting them, to get the smaller sized clams or some cockles. They’re easier to cook and eat. For the sake of writing this blog and not traveling around with a gaggle of children to more than one store (let’s get real here), I just bought the large ones they already had.
Choosing Your Clams
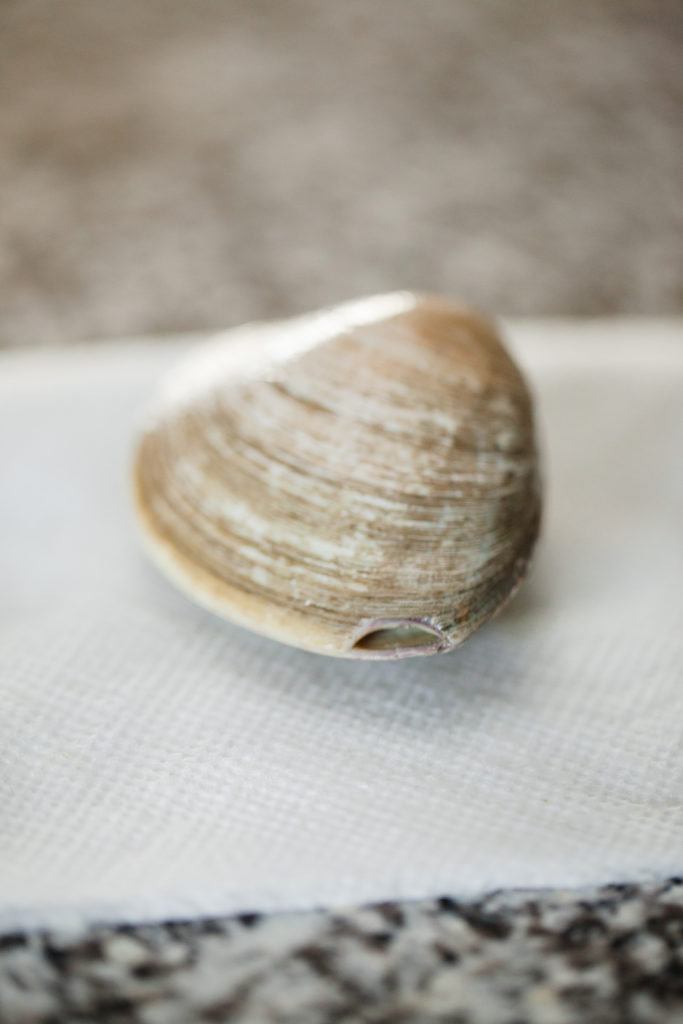
When choosing clams, you need to make sure that they are CLOSED. If they are open (as in permanently opened), they are dead and dead is bad. To make sure they are alive, they should be completely sealed. If they are open a crack, they should close themselves when you touch or tap them. If they don’t, THEY DEAD. Throw those bad boys away!
One more tip for picking up your clams – if there is a crack, break, or visible chink in the shell, skip it. You don’t want icky stuff in there with the meat you’re going to be eating. I didn’t notice this little guy until after I purchased them. It was a bummer, but I’d rather throw it out than get everyone sick!
Storing the Clams
It is SO important you properly store shellfish in your fridge OUT of the plastic bag! They need to breathe and cannot do so in a plastic bag. I put mine in a bowl, covered them with a dishtowel, and then put ice over the top. Clams like it nice and cold, but not too cold. 34-37 degrees is optimal!
Cleaning the Clams
The next part is cleaning the clams. This can be done around 30 minutes before you want to start cooking. You will need a bowl, cold water, and a bristly brush for scrubbing. First, put the clams in a bowl and cover them completely with cold water. As they breathe, they will sift out any extra salt/sand inside their shells, doing most of the work for you. Leave them there for at least 20 minutes to get the job done (you can set them in the fridge if you’d like). Once they have filtered out the sand (there will be a lot in the bottom of the bowl), take them out one at a time and scrub them off with the brush, rinsing under cold water. Don’t dump them out into a colander because that will just put the sand back onto them and defeat the purpose.
After each one is scrubbed, you can definitely tell a difference between the clean and the dirty ones! You think they’re one color, then BAM! They’re a completely different color under that grime. When you’re done scrubbing, put the ones you’ve cleaned into a separate bowl until you’re ready to cook them.
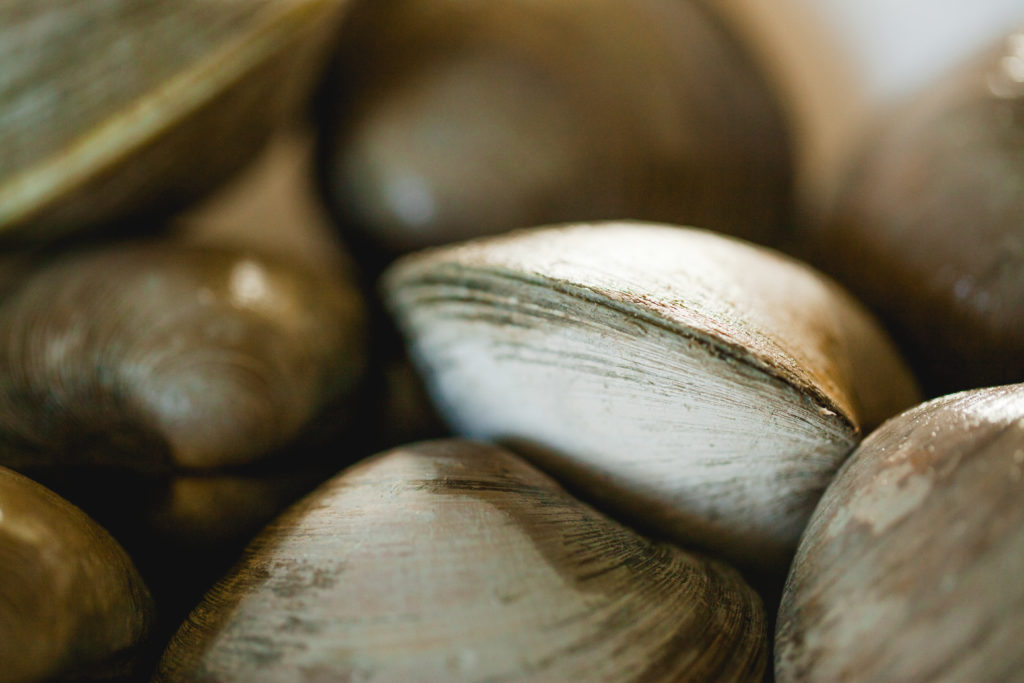
The pre-scrub creatures

Clean little clam!
Let’s Get Cooking!
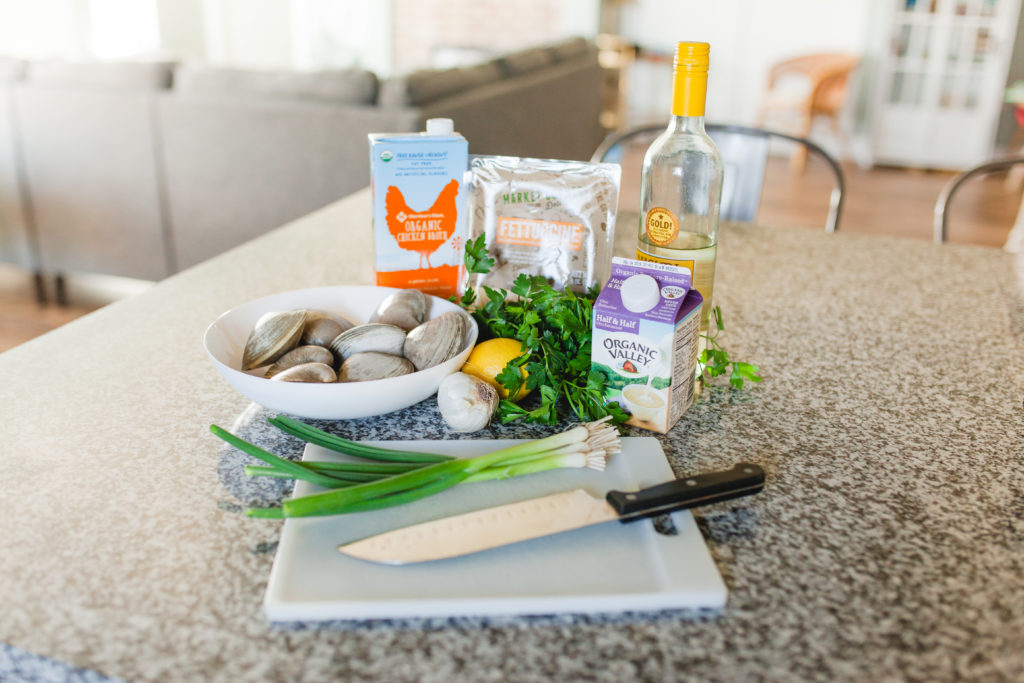
Now this is where things get fun! It’s time to cook! First things first, here’s the recipe we’re going for today:
Clams in Creamy Butter Sauce
2lbs clams or cockles
3 TBSP Butter, divided
2-3 cloves garlic, finely diced
1/4 C green onion
1 1/2 C white wine (you can sub chicken broth if you don’t have or want to use wine)
1 C chicken broth
1/2 C half/half
squeeze of lemon
chopped fresh parsley
(optional) fettuccine
Prep Work & Cooking
There isn’t a lot of work to this recipe at all. Start to finish (including the cleaning), I think it took me 45 minutes. So first, start with the chopping of the onion and garlic. I did this while the clams sat in water! Two birds with one stone, am I right?!
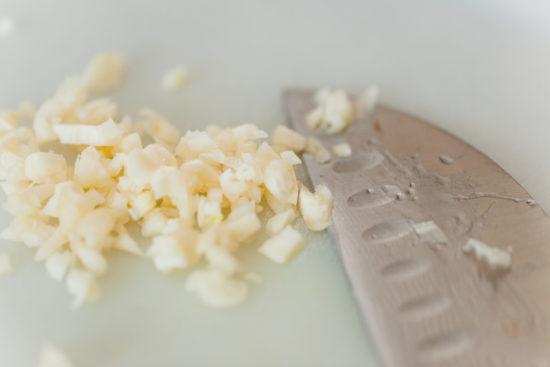
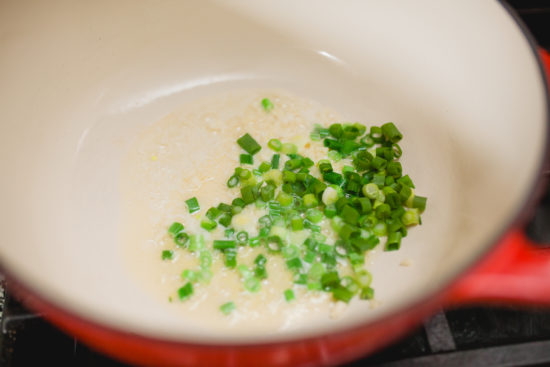
Next, I pulled out my trusty dutch oven (if you don’t have one, just use a regular, but deeper pan) and started heating it up over medium heat. Throw 2 TBSP butter into your pan and add the garlic and onion. Stir those around and cook until softened/fragrant, about 2-3 minutes.
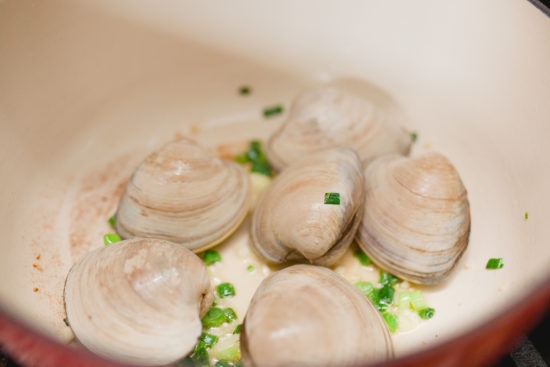
After this, add the clams and cook for another 5ish minutes. You can flip the clams or stir them around if you’re like me and feel like you need to do something, they won’t be opening up yet!
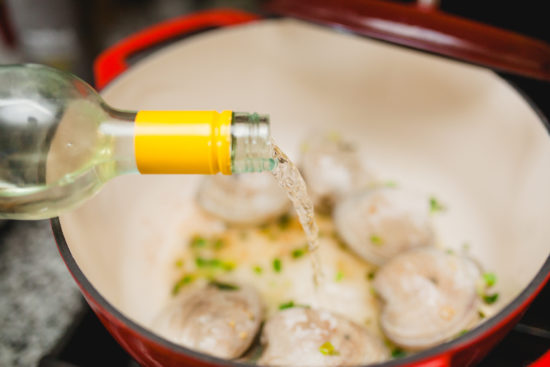
Next, pour in the wine and/or chicken broth and bring to a boil. Once boiling, reduce to a simmer and continue cooking until the clams open up. This shouldn’t take too long, but stir occasionally as they cook.
Once opened, you’re pretty close to done! Take off the heat, drop in the last of the butter, add the half/half and once it’s cooled for a bit, add your lemon juice! Be careful, though, as the juice could curdle your dairy. I like some substance to my meal, so I used fettuccine as my base with the broth/sauce on it. This is totally not necessary, and you can forgo the noodles! Clams are good on their own! The broth would also be super delicious with some toasted sourdough or French bread, though.
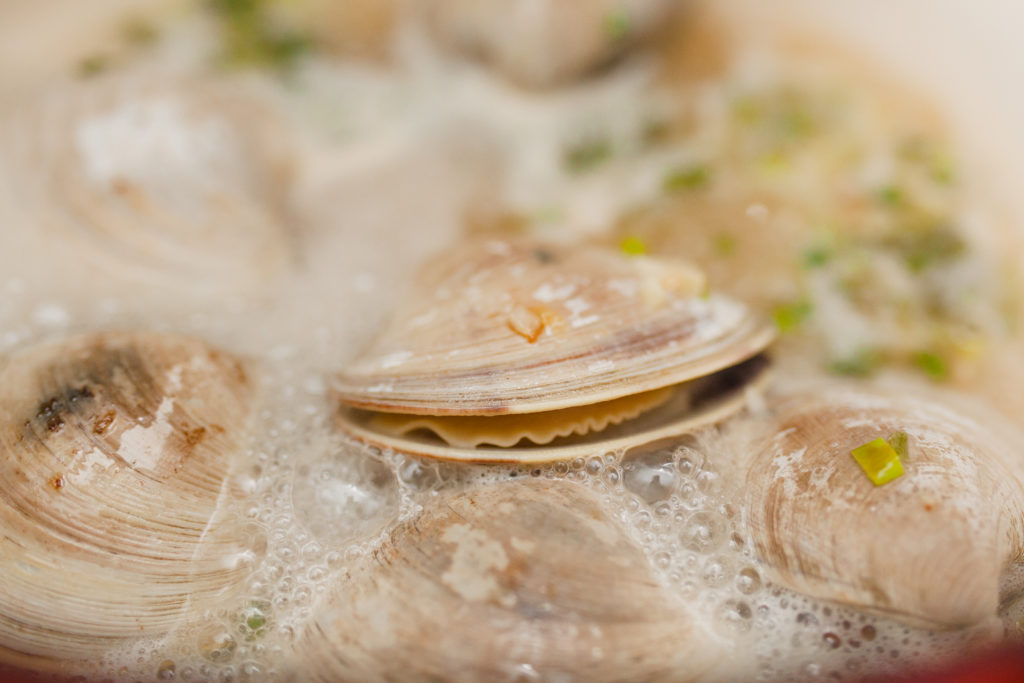
Photo by Lauren Beauregard Photography (www.laurenbeauregardphotography.com)
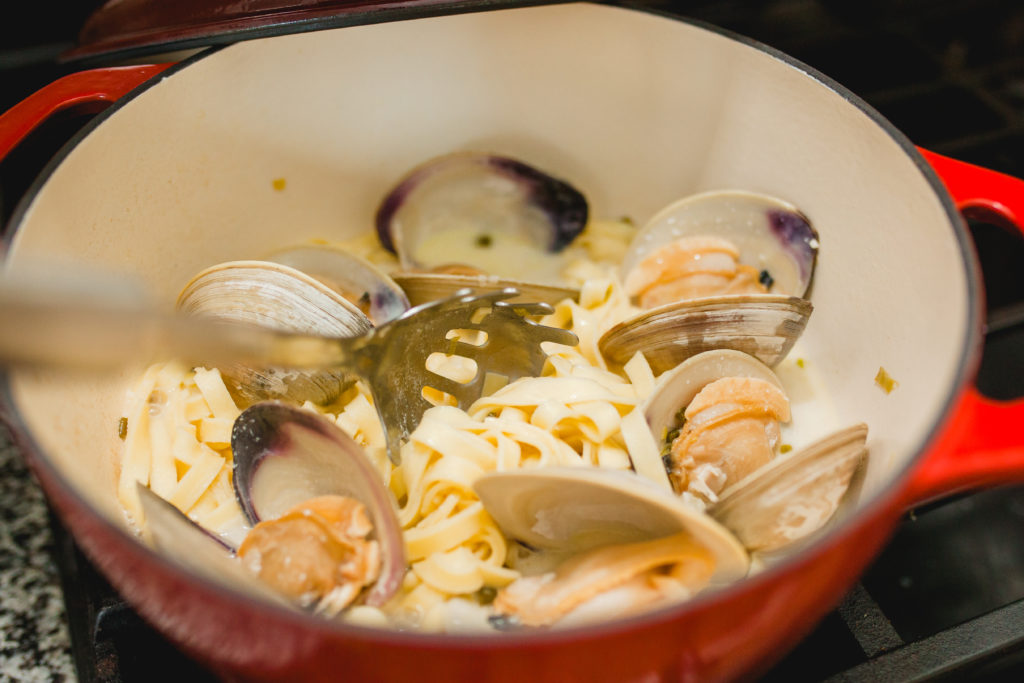
Photo by Lauren Beauregard Photography (www.laurenbeauregardphotography.com)
Now that you’ve made your very first batch (or maybe your 10th) of clams, time to enjoy the fruits of your labors! I know we did! Yum!

Just enjoying our clam dinner on some fancy paper plates
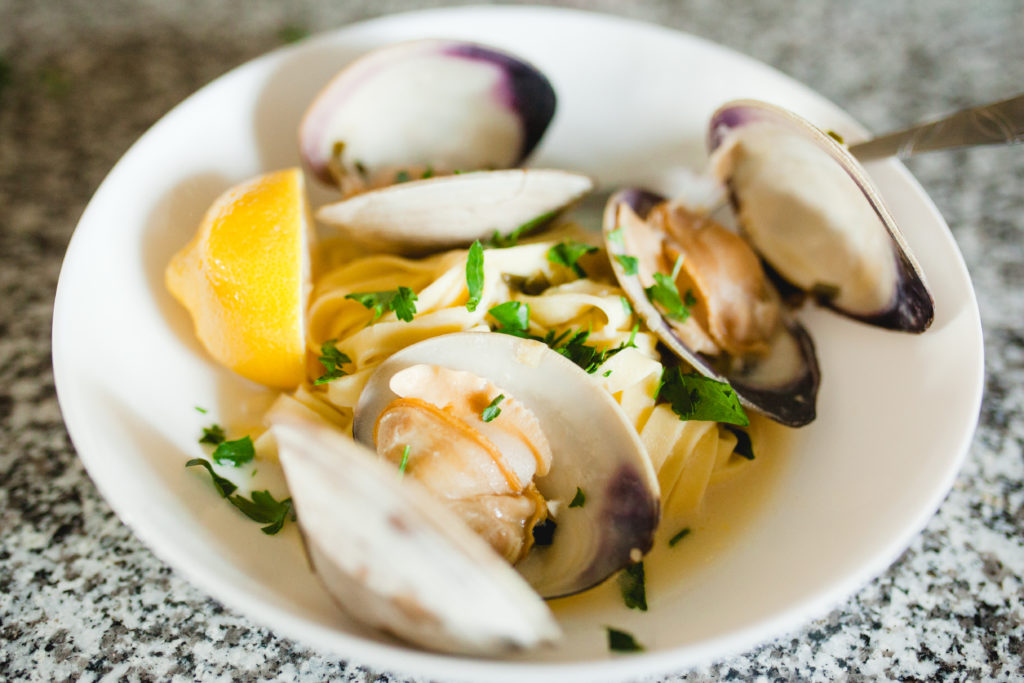
Yummy clams in creamy butter sauce!
I hope you’ve enjoyed reading and I’ll see you next time!
-Lauren B.


Comments
BE THE FIRST TO WRITE A COMMENT